
Sjoelen is a shuffleboard game which is popular across Germany, Belgium and the Netherlands. The game has a fairly complex set of rules that involves sub-turns, tallying points and multiplication. In short, it’s a fun game made surprisingly inaccessible thanks to its scoring mechanism.
When Belgian beer brand Heverlee approached us to create a fun in-bar experience for them, Sjoelen quickly sprung to my mind. Early on I decided that I wanted to use digital technology to make the game more accessible, retaining all of the hand-to-eye skill but removing the need for arithmetic.
I started by ordering a standard Sjoelen board from Masters Traditional Games. We played it over a few lunch breaks in the office to get a feel for the difficulty, then I set about building our enhanced version.
 The idea I pitched to the client (sketch opposite) was for a pinball-style cabinet with a freestanding board on legs and a large backboard. The backboard would contain both the score display and a stack of refrigerated cans that would act as prizes for winning players. A built-in selfie camera would allow bystanders to watch the player’s live reaction as they play.
At the same time I simplified the rules of the game considerably: in our version, players simply need to get three pucks through any one gate in order to win a can of Heverlee. It sounds easier than it actually is!
Building the machine
The first task was to decide which computing platform to build the machine around. On the one hand, I had a hunch that I’d need the GPU power of a desktop PC to drive the display which would be a mix of HD webcam plus various animated overlays, but going down that route would require a separate GPIO board like an Arduino.
A neater solution would be a Raspberry Pi, where I’d have the code and GPIO all running on the same device, but I was concerned that a Pi wouldn’t be able to drive all the layers of video, graphics and animation in addition to real-time handling of the GPIO.
I decided to try a Pi 3B for the project (we started the build before the 3B+ was released) and was pleasantly surprised. It was able to handle everything, albeit at an average 80% CPU load, so cooling would be essential.
 On the input side, a set of IR proximity sensors handle puck detection, while a Logitech webcam provides the selfie camera view. On the output side I used a set of car door locking actuators to control the can dispenser mechanism. As those actuators are designed for 12V, I used relays to control them from the Pi’s GPIO pins.
The software side uses Python for all of the IO tasks, communicating with a full-screen Chromium browser via JSON. My colleague, Jack, worked on the browser code, handling all of the scoring and display tasks in Javascript, along with the scaled and rotated webcam view.
Perhaps the trickiest part was optimising the Python so that it could reliably read the IR sensors in real-time. With fast players, the detection code needed to run at over 100 Hertz in order to always detect a winning puck. In the end, I got that code optimised down to just a few lines, meaning it was able to run screamingly fast and always detect pucks no matter how fast they were fired down the board.
Packaging and cooling
 With the software complete it became obvious that the Pi was working pretty hard and would quickly overheat, throttle performance and start to drop frames. I added a heatsink and fan to the board and that brought temperatures back to a safe, reliable level. So with the board cooled, the next challenge was to cool the prize cans.
Finding an off-the-shelf can dispensing mechanism proved tricky. Commercial can vending mechanisms tend to look pretty ugly and a key requirement here was that the prize cans were on display. Novelty can vending machines (like a mini fridge with dispensing buttons on the front) were our next option, but these turned out to be very flimsy and unreliable, despite their considerable price tag.
So, I decided to go full-scale Maker and design my own can dispenser from scratch. Version one was a vertical stacking system which I built out of acrylic. A steel shaft, driven by a geared motor, rotated a pair of acrylic rollers matched to the can’s profile which allowed the cans to drop down one at a time.

The mechanism worked beautifully for the first 20 or so cans. Then it all went a bit Robot Wars. One can got stuck in the rollers and, thanks to the mighty torque from the geared motor, the rollers sliced right through the can. Then the next one, then the next. Within seconds I had fountains of beer spraying all over the dispenser. Back to the drawing board.
For version two I came up with a shelf-based design, with pairs of cans resting on five separate shelves, each of which are mounted like a seesaw. Each shelf had an actuator which allowed the rear can to drop down, in turn allowing the front can to replace it at the back. I produced a CAD design for the machine which I had laser cut overnight for assembly the next day. This time I opted for plywood rather than acrylic, partly for aesthetic reasons and partly to give me some flexibility if I needed to alter the parts once they were cut.

Thankfully, this second mechanism worked flawlessly. And, thanks to the shelf design, it can be refilled quickly and easily when required. The actuators, designed for car door locks, provide plenty of torque, ensuring that the cans always drop quickly and accurately when a player wins.

The final step was to add some cooling to the cans. For portability, I opted for a lightweight thermoelectric cooler based on the Peltier effect. This uses a small 12V heat exchanger to draw heat out of the can dispenser. A fan pulls the hot air through, cycles it around to the cold side of the heatsink, then blows it back into the can mechanism.
To finish the unit off we brought in local furniture makers to build the outer cabinet and to give the machine a lightly distressed effect, painting it in Heverlee blue.

We put a lot of effort into ensuring the finished unit was both sturdy and easily transportable. The acrylic ‘glass’ front is recessed behind the wooden frame, protecting it from transport damage. The legs unclip in a few seconds, the backboard detaches from the main body and the board folds away, making it potentially a one-man job to transport and install the unit at a new venue.

The Heverlee Sjoelen machine has already been out at a couple of events in Glasgow and Edinburgh. It’ll be going out on a wider tour starting in August.
Update, March 2019: The machine has proved incredibly popular over the past nine months, touring all around the UK at both public and trade events. I had it back in the workshop a few days ago for some TLC, and now it’s back out to an event in London next week.
Selected coverage
The machine has had some lovely coverage in the press. A few highlights:
- Simplifying Sjoelen for Beer and Profit – Hackster.io / Medium
- The Belgian beer company and their freestanding, Raspberry Pi-powered shuffleboard game
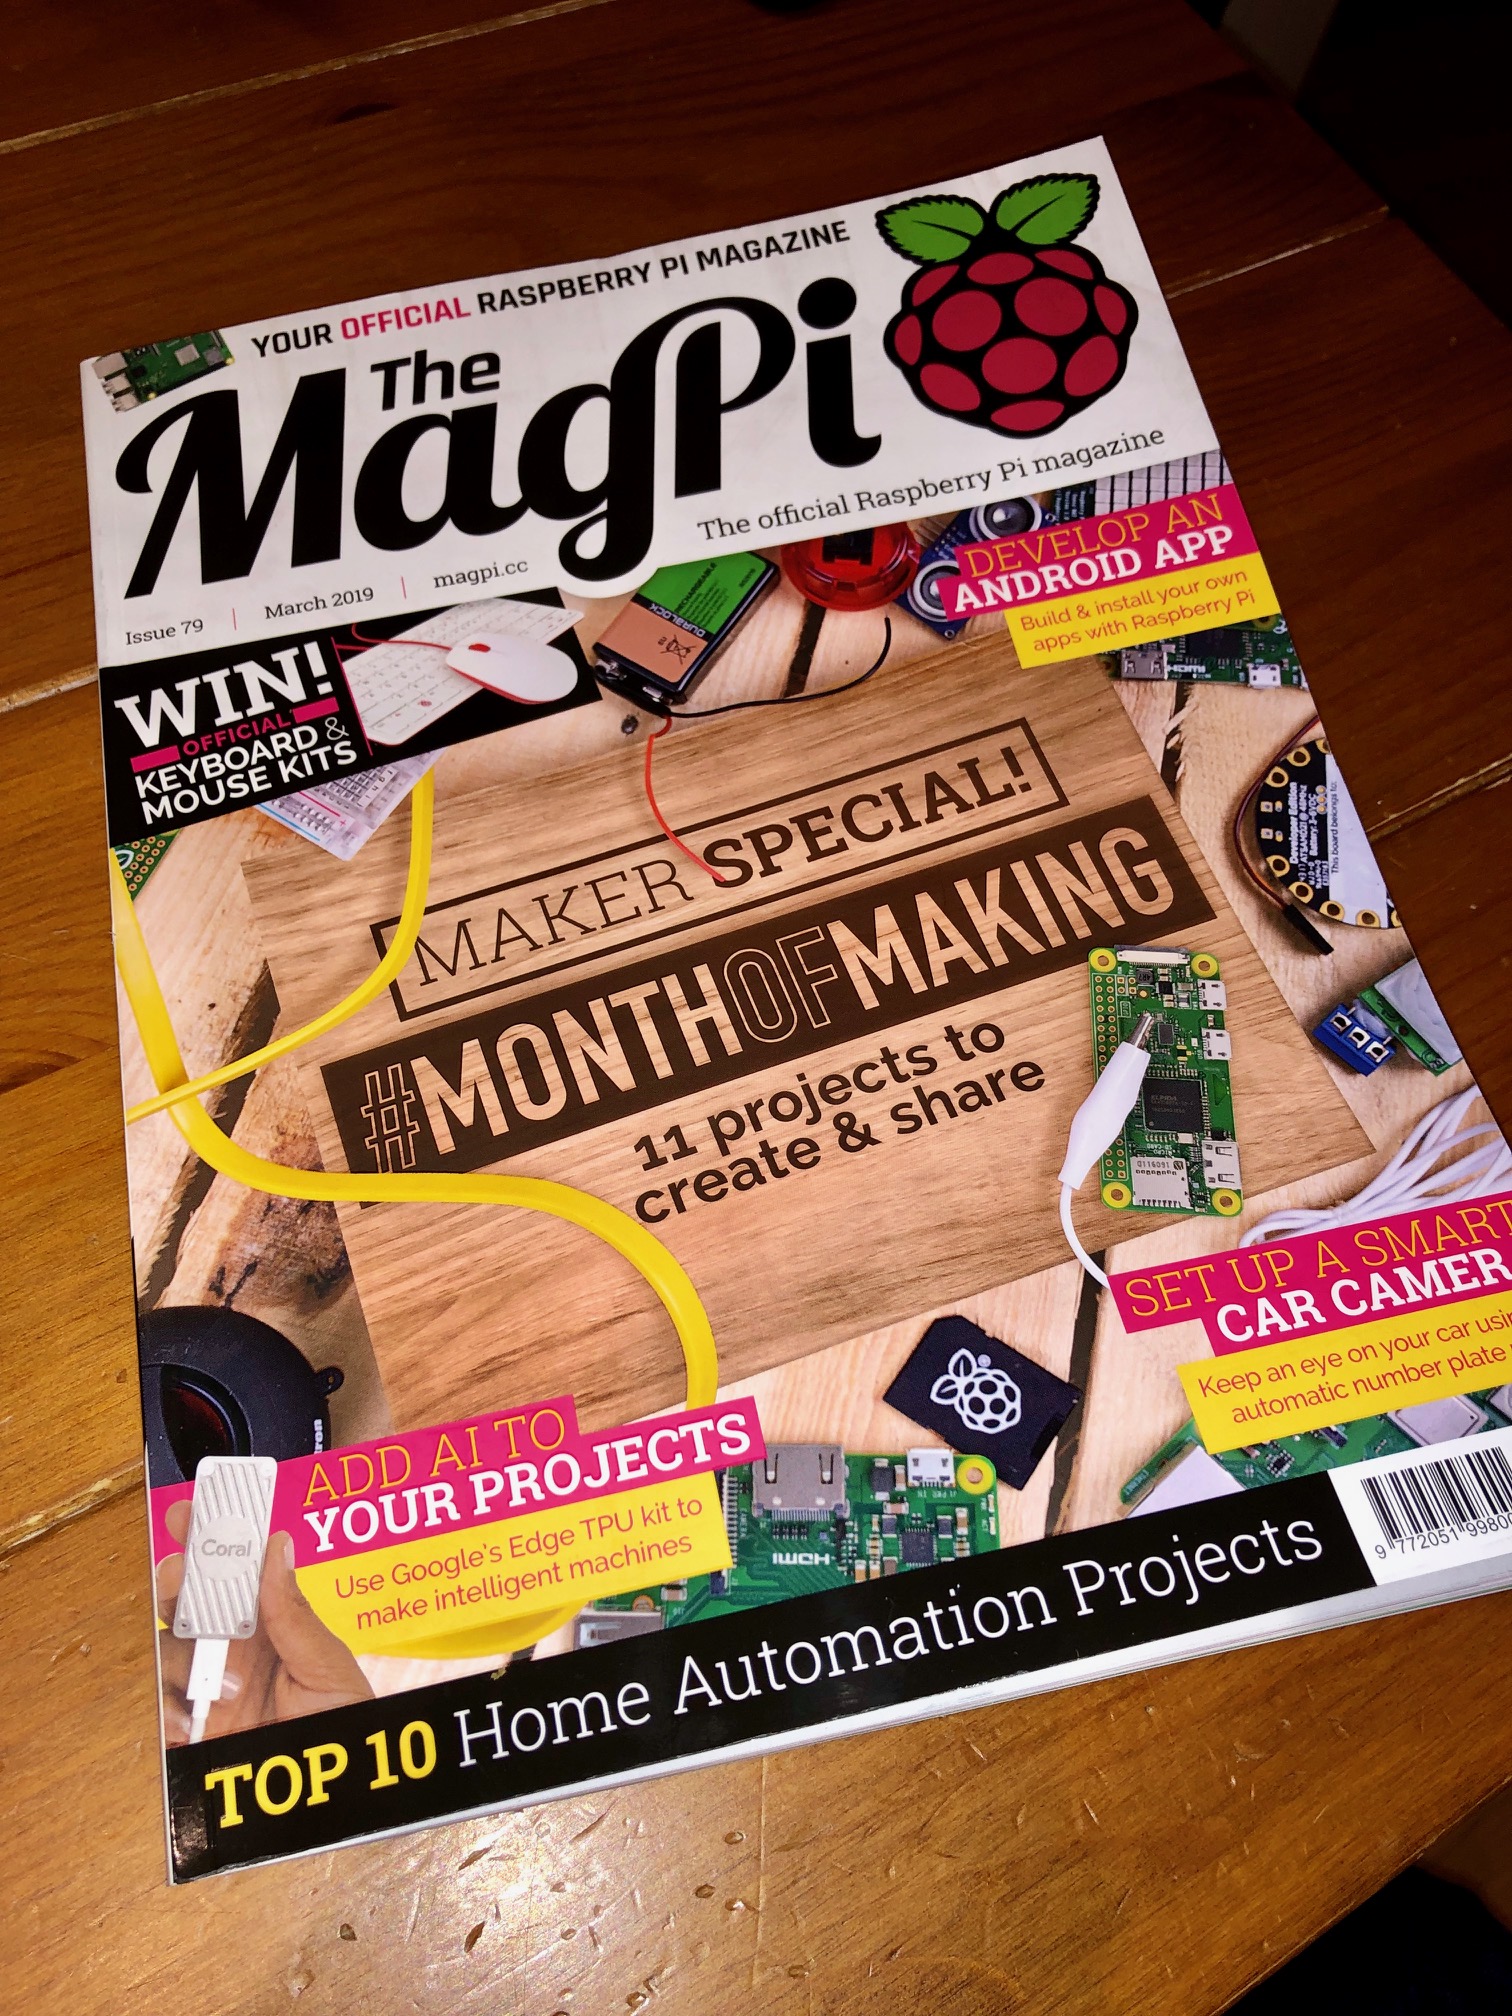
And a nice double page spread in the latest ‘Maker’ edition of MagPi, the official Raspberry Pi magazine.

Some more coverage, this time in Issue 86 of MagPi magazine…


Read your story via the MagPi, great idee!
Any Chance that you will share the programm?
LikeLike
I often share the plans and source code for my personal projects, but I’m afraid I can’t share all of the details of paid projects like this one.
You could achieve the same result using pretty much any sensors (break-beam sensors, presence sensors, microswitches, etc). The code to read from those sensors is pretty straightforward (the same as reading from any button) so the core technology is pretty simple.
If you take on a similar project and have any questions just let me know.
LikeLike